Deploying a Web Server on AWS with NGINX and Terraform
Introduction
Most fullstack web applications will often comprise a backend server and a frontend client or other components. Deploying these components and getting them to talk to each other can be a daunting task.
In this tutorial we will be using AWS to provision a server on the cloud and then go ahead to install NGINX on this server.
Prerequisites
I assume you already have an AWS account, if you don't, please go to Amazon Console and complete the signup process to create an account.
Note that you can provision a VPS on any cloud platform such as Azure, Digitalocean etc, it doesn't necessarily have to be AWS.
A new AWS account will give you one year free access.
Infrastructure as Code with Terraform
I am using IaC (Infrastructure as Code), so I will be using a Terraform script to provision an EC2 instance on AWS. You can also use AWS CDK to achieve this or do it through the AWS Console.
I have added a key-pair to my EC2 instance to allow us SSH into this instance.
One of the many advantages of IaC is: clean up is easy and you can easily free up resources once they are no more needed using just one command. In this case, terraform destroy.
Example Terraform Script
provider "aws" {
  region = "us-west-2"
}

resource "aws_instance" "web_server" {
  ami           = "ami-0c55b159cbfafe1f0"  # Amazon Linux 2
  instance_type = "t2.micro"               # Free tier eligible
  key_name      = "my-key-pair"            # Your key pair name

  vpc_security_group_ids = [aws_security_group.web_sg.id]

  tags = {
    Name = "nginx-web-server"
  }
}

resource "aws_security_group" "web_sg" {
  name        = "web-server-sg"
  description = "Allow SSH and HTTP/HTTPS traffic"

  ingress {
    from_port   = 22
    to_port     = 22
    protocol    = "tcp"
    cidr_blocks = ["0.0.0.0/0"]  # Not recommended for production
  }

  ingress {
    from_port   = 80
    to_port     = 80
    protocol    = "tcp"
    cidr_blocks = ["0.0.0.0/0"]
  }

  ingress {
    from_port   = 443
    to_port     = 443
    protocol    = "tcp"
    cidr_blocks = ["0.0.0.0/0"]
  }

  egress {
    from_port   = 0
    to_port     = 0
    protocol    = "-1"
    cidr_blocks = ["0.0.0.0/0"]
  }
}
Connecting to Your EC2 Instance
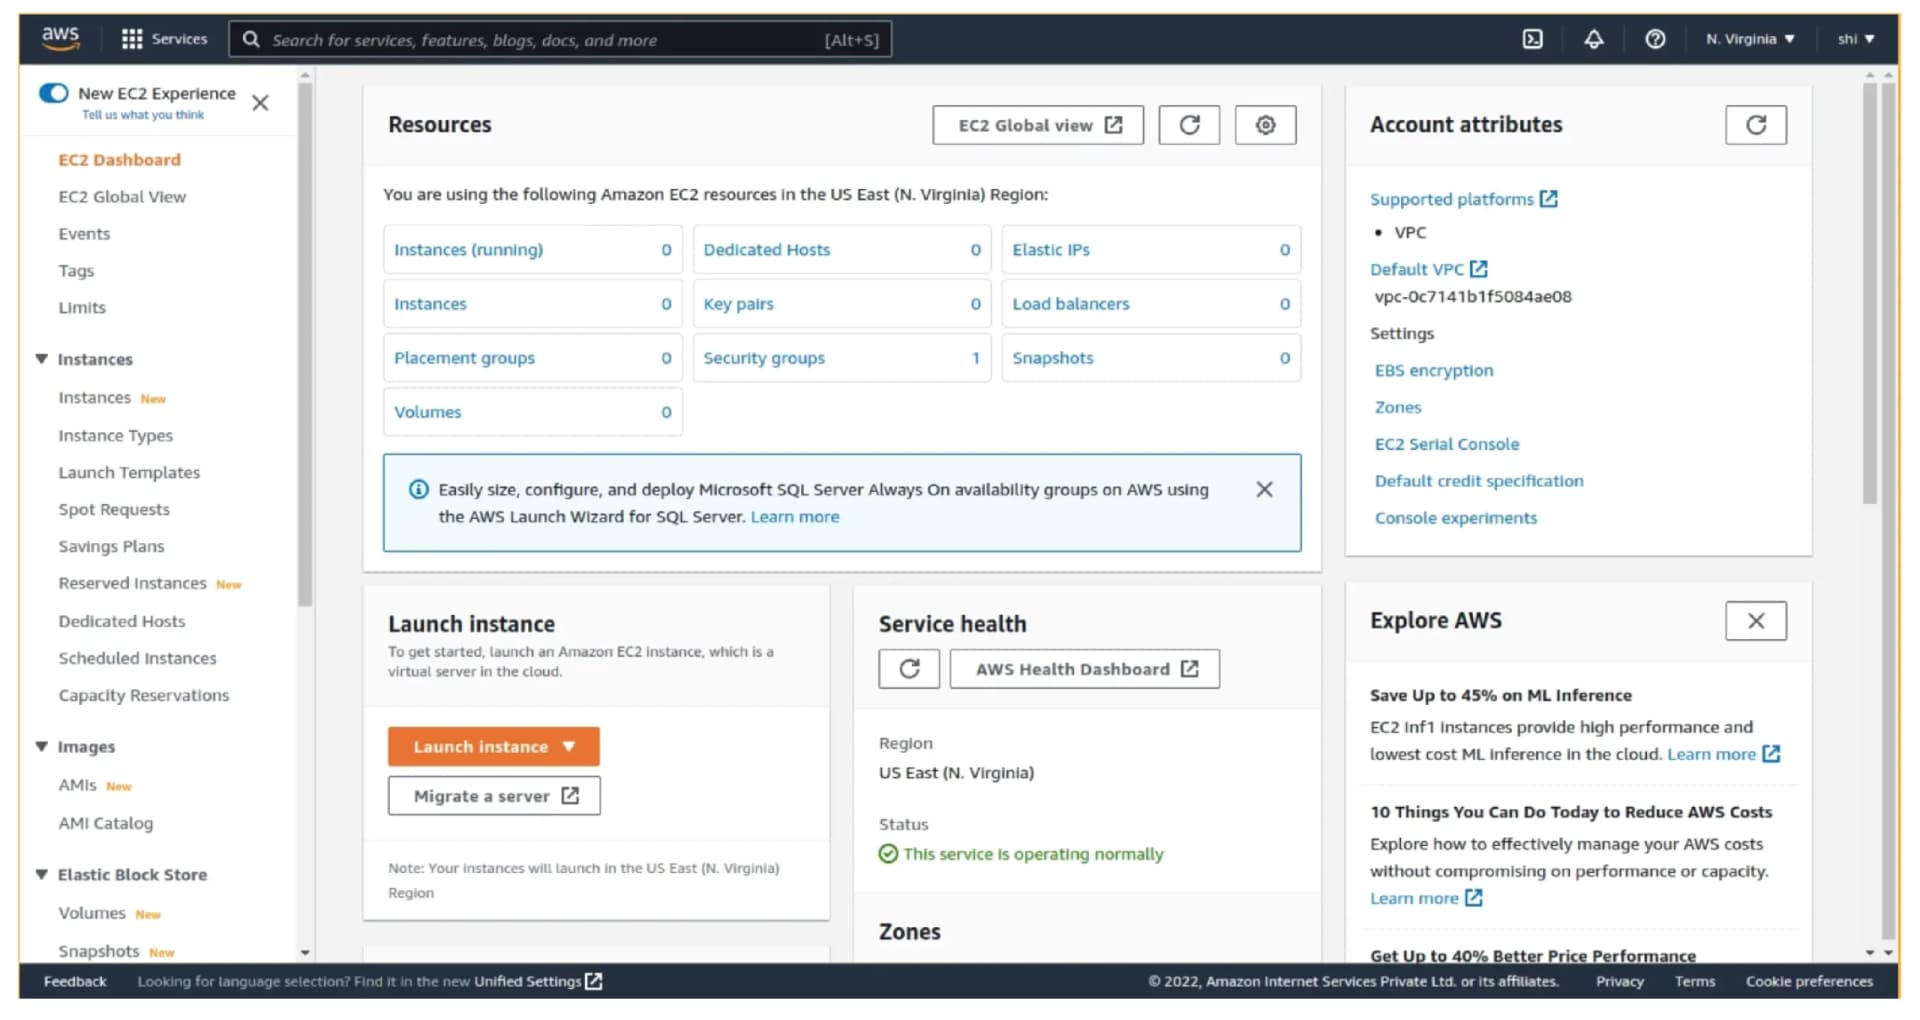
To verify, log in to AWS, search for EC2 in the top navigation bar that lists all AWS services, select EC2, and check if your instance is running.
Further instructions on how to connect to your EC2 instance can be found in the AWS console:AWS → EC2 → instances → Connect
AWS EC2 Console
We will be using SSH in this post, so copy the public DNS from the connection instruction to your clipboard.
Open a terminal and type:
ssh -i <path-to-your-key> username@public-dns# Example - not a valid IP
ssh -i ~/.ssh/my-key-pair.pem ec2-user@ec2-122-345-677-890.us-west-2.compute.amazonaws.com
Coming Next
In the next part of this tutorial, we will cover:
- Installing and configuring NGINX on your EC2 instance
- Setting up a basic web server configuration
- Configuring a domain name with Route 53 (optional)
- Securing your server with SSL certificates
Stay tuned for the next installment!